
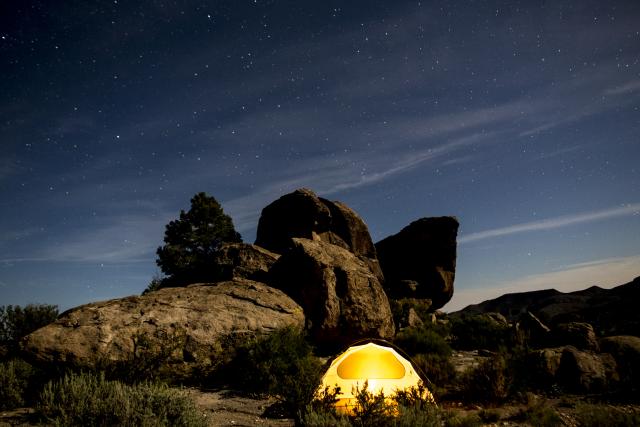
HOW TO SET-UP A TENT
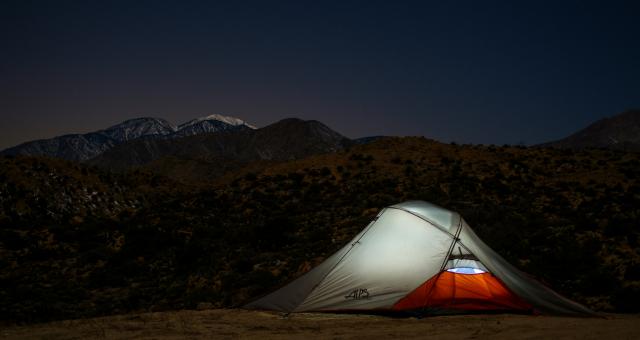
OK, so now that we’ve gone over the basics of determining the best location for your tent, now is the time to put it up and stretch out after a long day’s drive to your location.
In a perfect world before we even arrive to this point, you’ve taken some time to pull out all the pieces and practiced this in your backyard.
You did that right?
Believe us, this will pay huge dividends when you show up to your campsite four-hours behind schedule, its dark and the batteries on your lantern just went out. We’re not saying that’s ever happened to us, but we’re also not saying that.
How difficult your tent is to set up mostly comes down to its size and shape – a single person tent is going to be significantly easier than an five person command post. That said, the basics remain mostly the same – you’re probably going to have a foot print or ground cloth, tent, tent poles, pegs or stakes, a rain fly, a mallet (or a rock) and a bit of patience. Hopefully when you practiced putting up your tent in your back yard, you remembered to put the instructions back in the bag.
Pro Tip – if you’ve lost the instruction manual, most manufacturers make them available for free, online.
Did we mention you should practice this before striking out? #KnowBeforeYouGo! Pulling your tent out and tossing it up in your back yard is important for the expert level camper as much as the beginner – much better to find out while still at home that a pole broke or a stake is missing before realizing that while out in the deep back-country of #YourPublicLands. After setting it up a few times you might also realize you might want to pack along a small rake to clear the area and maybe a better mallet/hammer.
Campsite selected let’s get to setting this thing up!
Spread out the groundsheet; groundsheets offer a layer of waterproofing and help protect the tent floor, not essential but highly recommended. Pull all your poles out, snap them together (the overwhelming majority of tent poles these days are manufactured with shock cord running through them to keep them together) and lay them out in such a fashion where like poles are grouped – long poles with each other, short ones and so on. Lay your tent out over the groundsheet, you’re going to want the door away from the wind to keep things like campfire smoke out of you humble abode. Depending upon your tent (here’s where you’ll refer to your instruction manual), you’ll either slide the poles through a sleeve or attach them to the clips to form the skeleton of the tent. Don’t connect the poles to the end of the tent just yet, we need to attach the rain fly. Lay the rain fly over the tent and secure it as directed in your instructions. Go ahead and insert the poles into the flaps at the end, this should pitch your tent up. We don’t want anything flying away at this point so using your mallet or a good solid rock, move around the perimeter of the tent and stake it down in the stake holes provided. Your last step should be to tuck any edges of your groundsheet under your tent floor, so none of the groundsheet is visible. Assuming everything went right, you’re now in business with your home away from home.
So, in recap – setting up your tent does not have to be a stressful event. Practice at home and identify any problems while you can still fix them. Follow the below steps and you’re well on your way to Getting Primitive on BLM managed public lands
-
Select a location free of debris for your campsite.
-
Lay down your footprint or ground cloth.
-
Position the tent over the footprint with the doors facing away from the wind for optimal ventilation.
-
Lay out the poles and assemble them. Follow instructions to attach the tent poles to the tent body. You may need to thread the poles through sleeve or use clips on the tent body.
-
Attach the fly per the tents instructions and secure it to the tent body or poles.
-
Stake out the tent. Start at the corners and make the floor perimeter taut. Once the corners are staked out, attach stakes to other points to get a taut tent body and floor.
-
If there is ground cloth or foot print material extending beyond the floor perimeter of the tent, tuck this in so it will not collect rain water.
Related Stories
- BLM, Partners Enhance Public Access at Popular Recreation Area
- Birding Aravaipa Canyon: A morning of songs, color, and creekside adventure
- Celebrating 2026 National Trails Day volunteers
- Framed for Freedom: Bureau of Land Management Eastern States and the Legacy of National Historic Trails
- Volunteers and Partners Retrace 250 Years of History on the Anza Trail